This is the second part (of three) of my article that was originally published in Wargames, Soldiers and Strategy Issue 64, regarding my approach to basing miniatures. The first part is here. All pictures are clickable.
Preparation
Before
basing, it is really beneficial to paint the bases of the figures to match the
eventual colour of the base; this is much quicker and easier than trying to
paint around the feet of the figure in the middle of a clump of miniatures mounted
on the base. At this
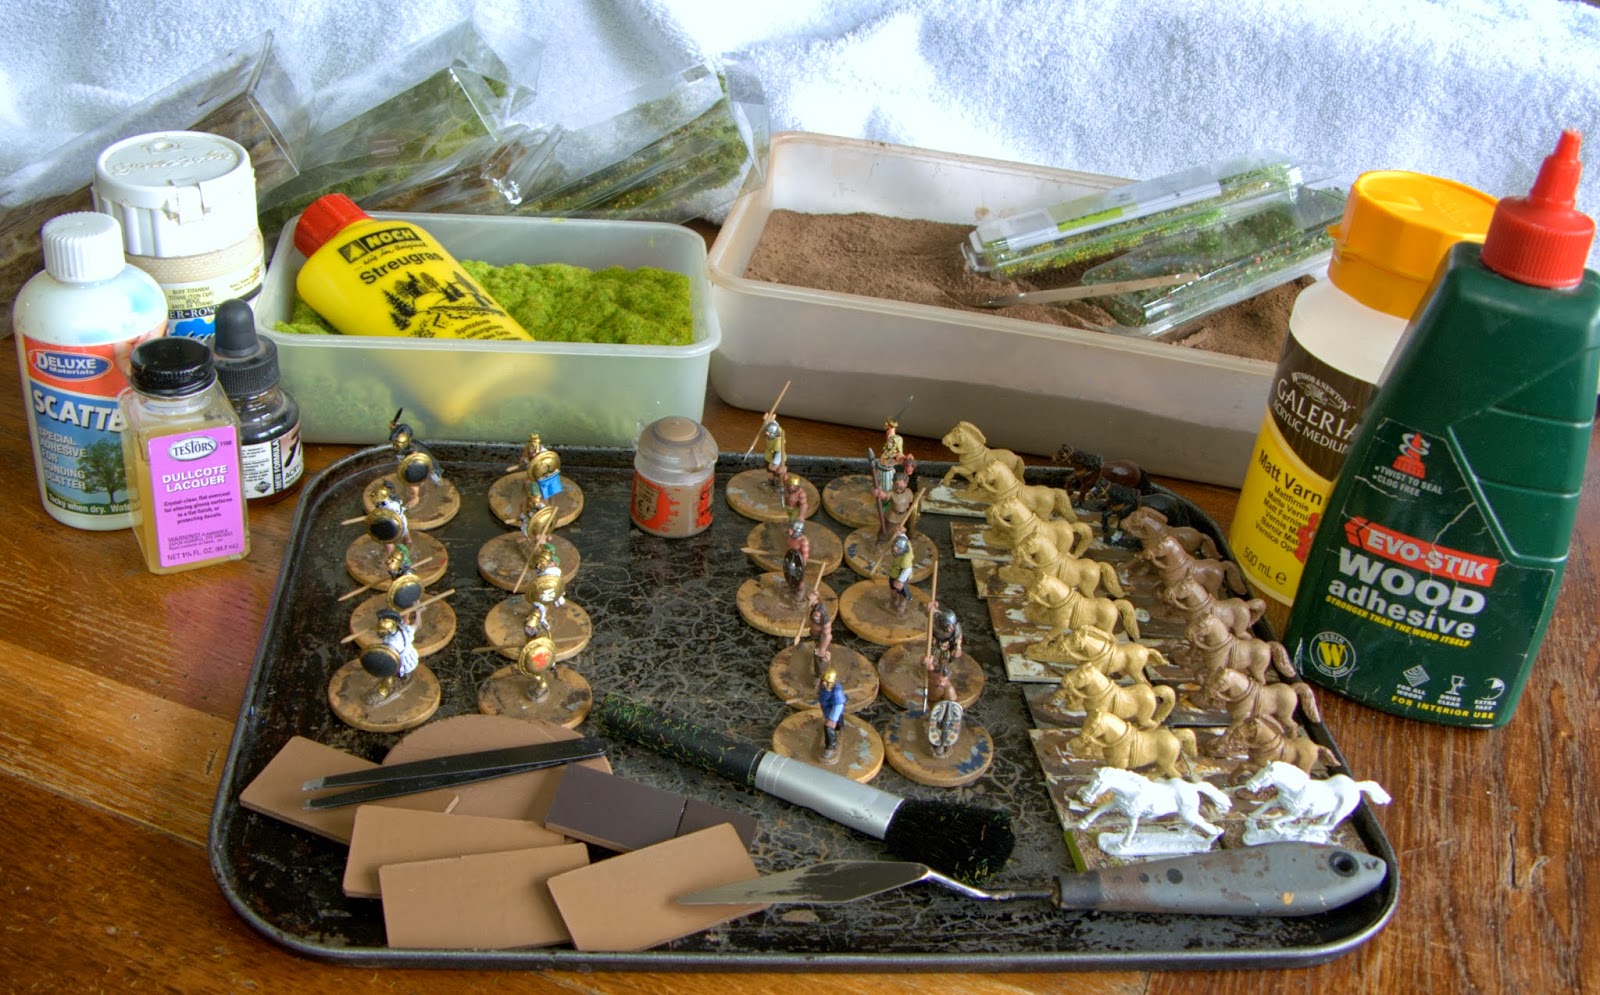
point, put the magnetic bases on your metal baking tray. The magnetic sheet holds the base flat and will
prevent it from warping, as the various layers of basing gunk, paint and glue
and are applied.
Before
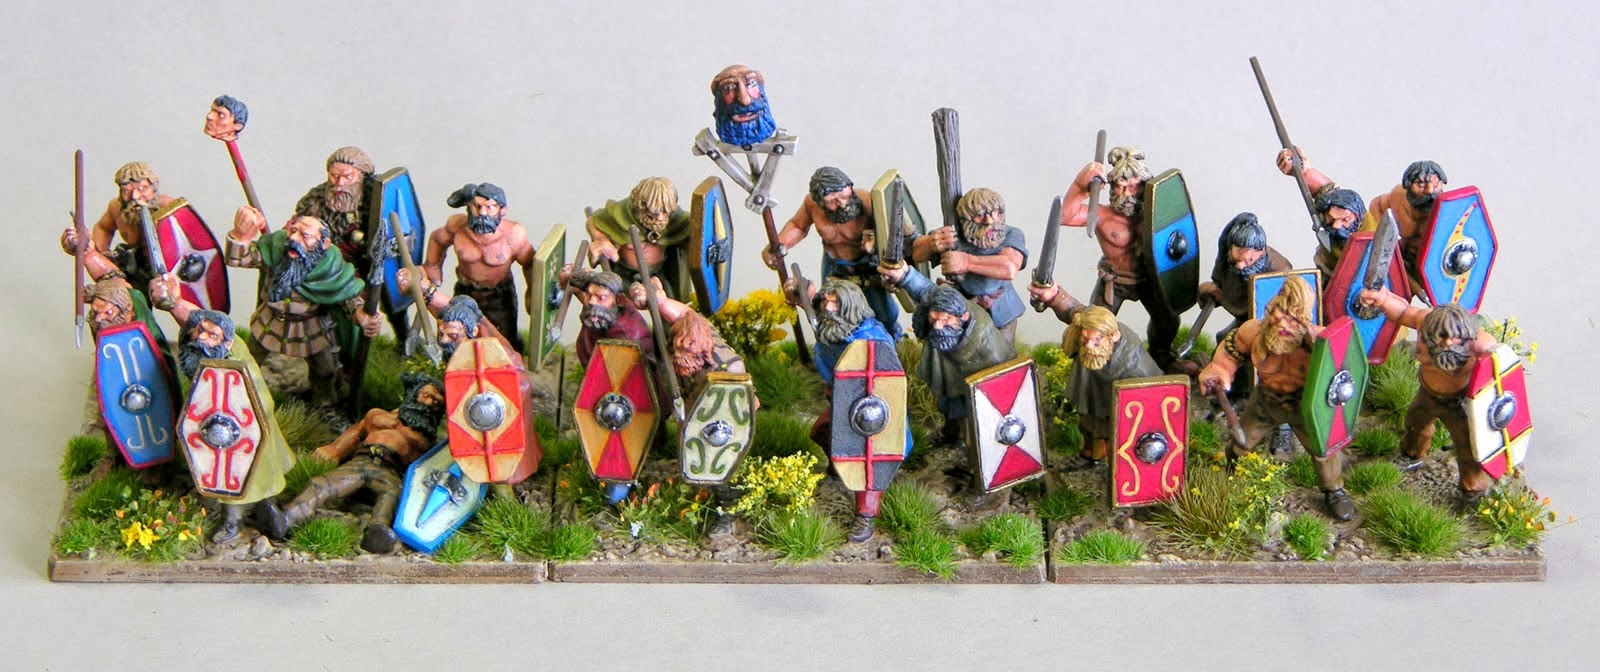
reaching for the glue, do please take all the time you need to arrange the
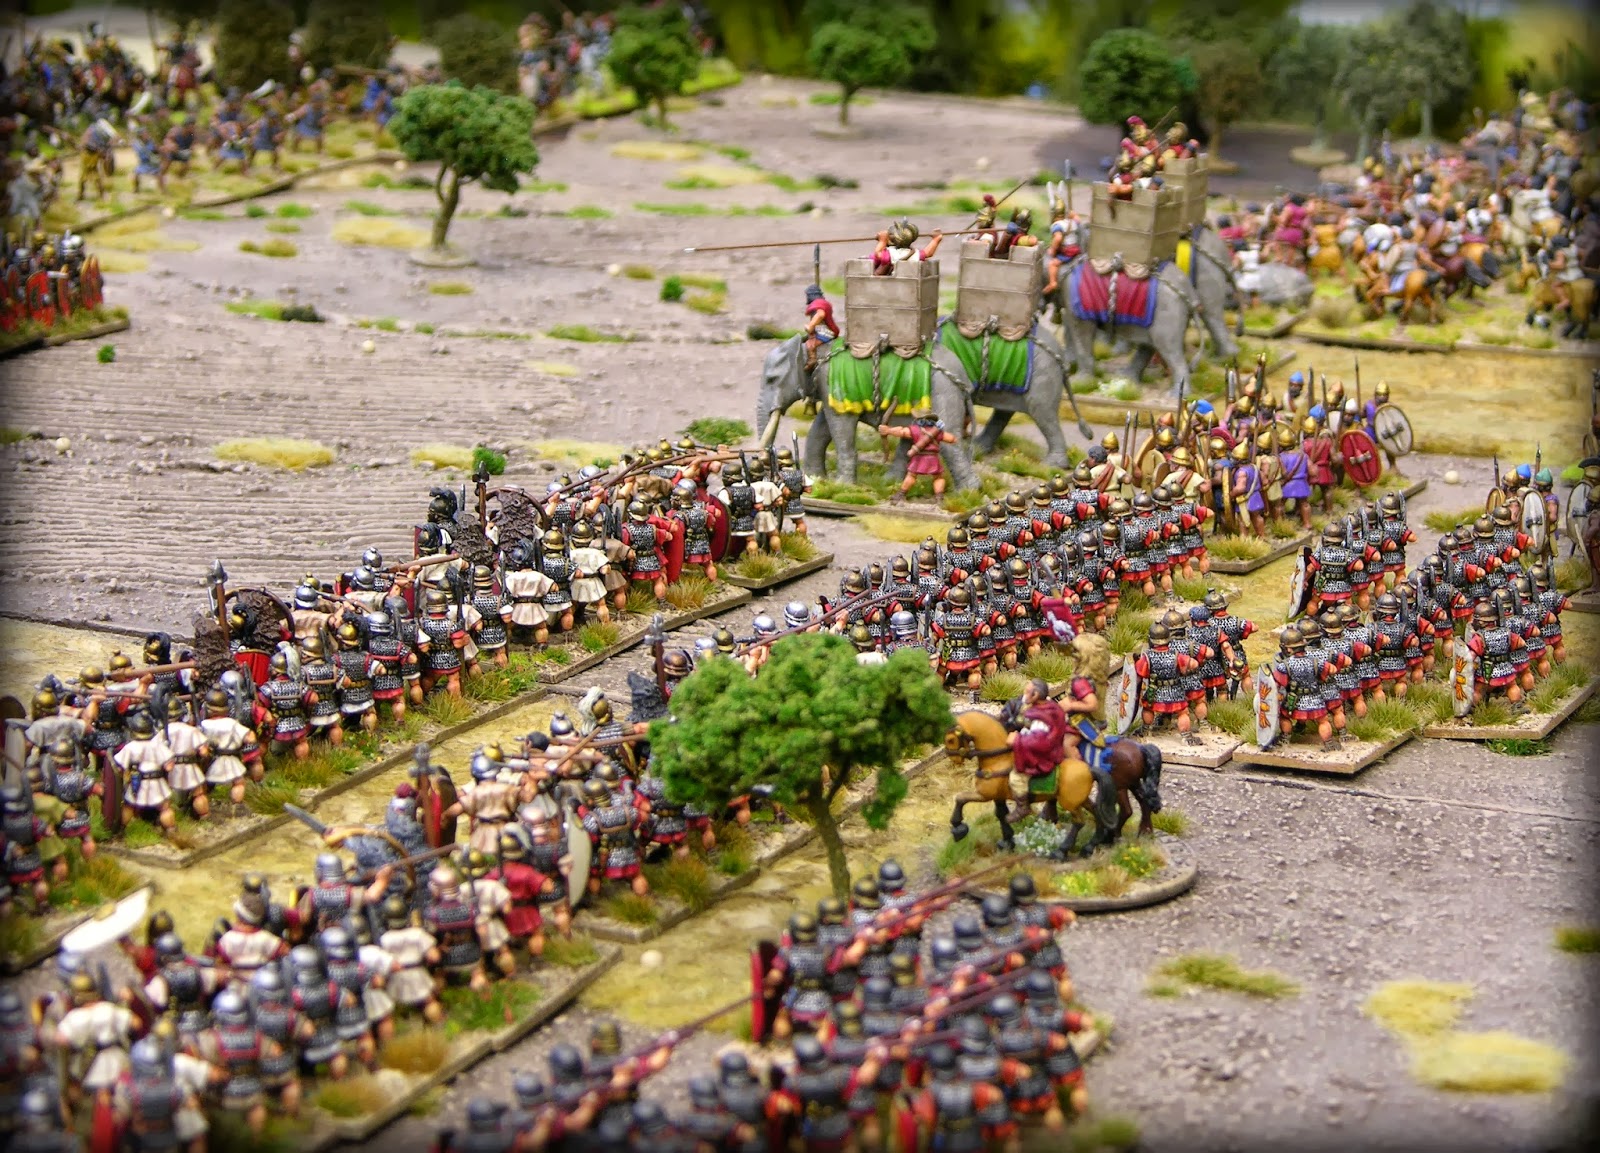
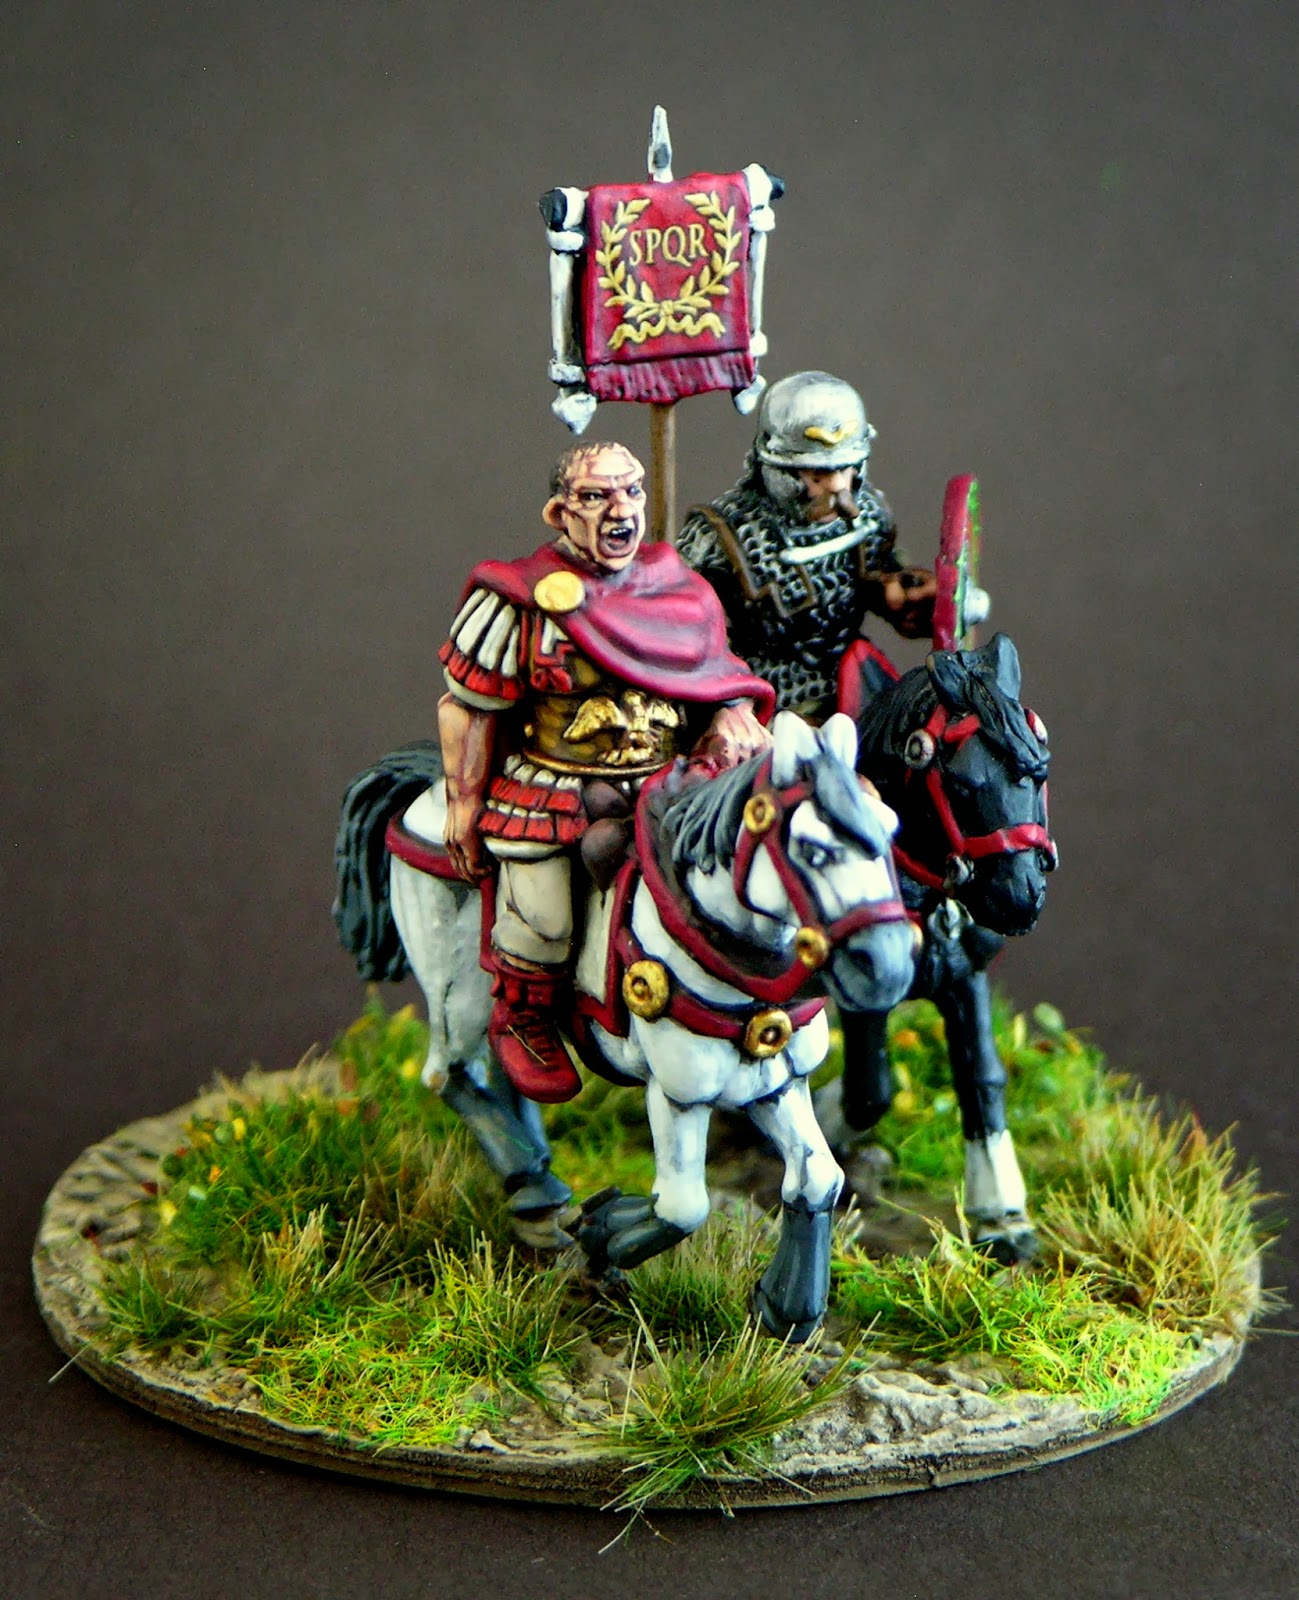
miniatures on the bases in an aesthetically pleasing manner. Ideally, the layout of the miniatures should
tell a story, especially in the case of command stands. Think carefully before positioning items so
that they protrude over the edge of the base, such as spears; if these stick
out too far, it can be very difficult to rank up the bases, and they will take
up more storage space.
I
strongly recommend fixing miniatures to their bases with wood glue, rather than
superglue, as this makes it relatively easy to re-base at a later date. Wood glue also dries relatively slowly and
gives me plenty of time to move the miniatures around to find the most
attractive arrangement. However, it is
best to leave wood glue to dry for 4 hours or so before going on to the next
stage, so if you are in a hurry, it’s not for you!
It’s gunking
time!
With the
miniatures firmly fixed onto the bases, mix up a batch of basing gunk on a
disposable surface (plastic lids from cream or yoghurt pots are handy for this). The gunk mixture will consist of
approximately 2 parts dry basing gunk, to one part wood glue, and one part
water (or more if needed). Only make up
as much as you need, you can always add a bit more, later, if you run out. Stir it thoroughly with the palette knife, until
it is wet, but not so wet that it will slip off the palette knife, and then start
to apply to the base.
I find it
easiest to start in the middle of the base and work outwards, towards the
edges. Build the compound up to the
level of the top of the bases on the miniatures. Use the small palette knife to get into tight
corners.
At this
stage, remember it is essential to let the bases dry, slowly, on a
magnetic surface. For this, I use an old
steel baking tray. Make sure that the surface and the underside of the base are
smooth and clean, because if the contact isn’t good, it will very likely warp. If desperate, you can speed the drying
process by putting it on a radiator or under a lamp, but this can make the
compound crack.
Painting the bases
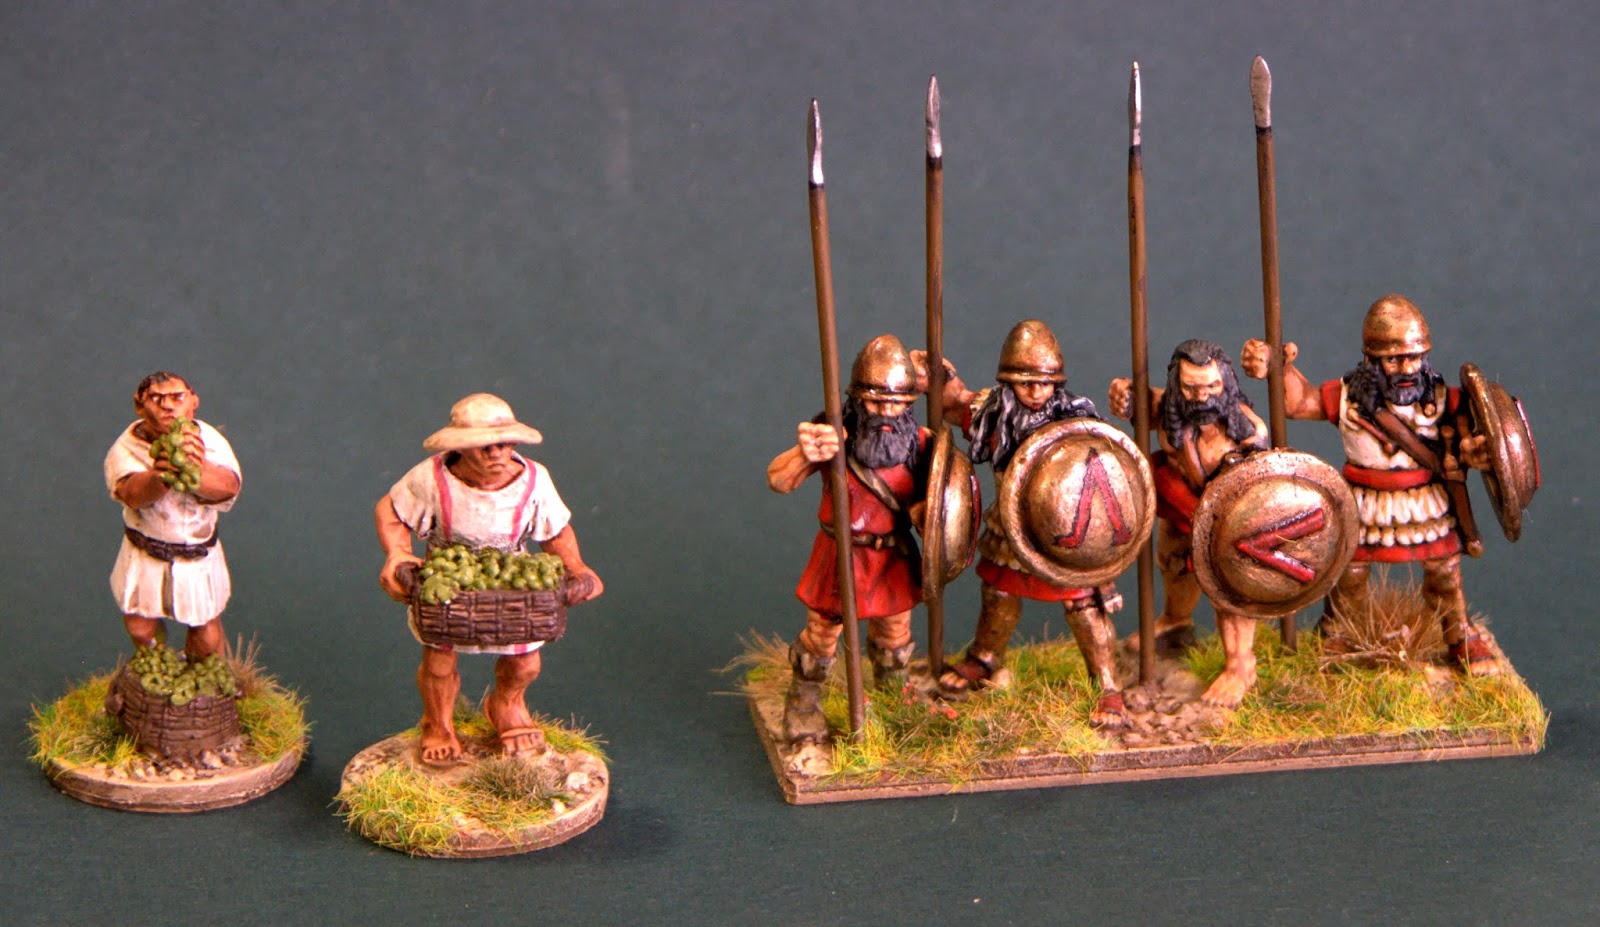
It is
very desirable to have a standard colour scheme for all your units across
different armies, especially when contingents work in different forces (such as
my Greek psiloi, who serve across a number of different armies). To maintain consistency across my collection,
I only ever use Games Workshop Steel Legion Drab, Windsor and Newton Buff
Titanium and a little peaty brown ink, such as Agrax Earthshade, for shading. Your chosen colours will likely be different
ones, but do make a note of what paint range you are using, and keep it
consistent!
I roughly
dry-brush the Steel Legion Drab base coat over the brown of the base, and then add
a highlight with the same paint diluted with 50% Buff Titanium, and finally
apply a top highlight consisting of around 25% Drab and 75% Titanium.
After this I seal the base with a wash of Testors Dullcote, into which I mix a
tiny bit of brown oil paint. Sometimes I
use a matt acrylic medium, with a very small amount of brown ink mixed in
(believe me, less is more, with the ink!). This coat helps to tie the
colours of the base together, give it depth, protect against damage, and above
all make it matt. Glossy bases don’t look great!
Once the
varnish is dry, the next stage is to apply the Silflor tufts. These come ready
made and one can quickly stick them into place I use tweezers to pull them from
the plastic sheet and to fit them into place with a small dab of wood glue. I personally find that foliage looks best
when I use a variety of different shades and types of tuft, including the weeds
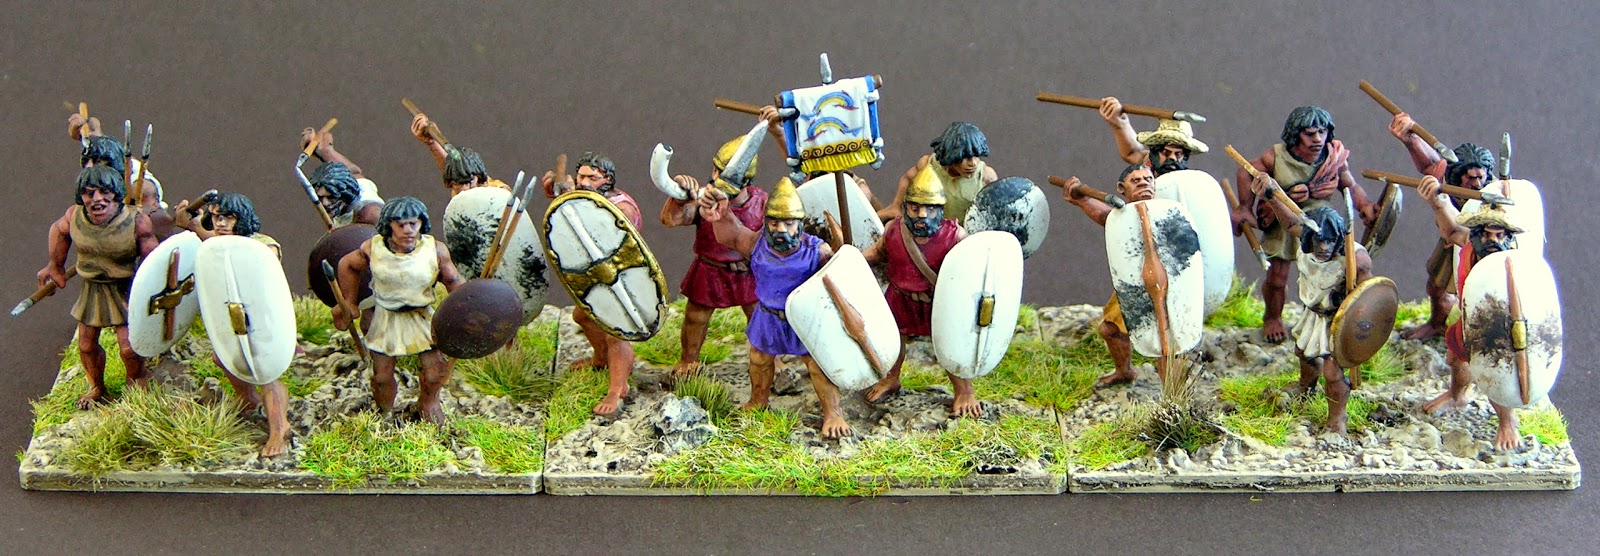
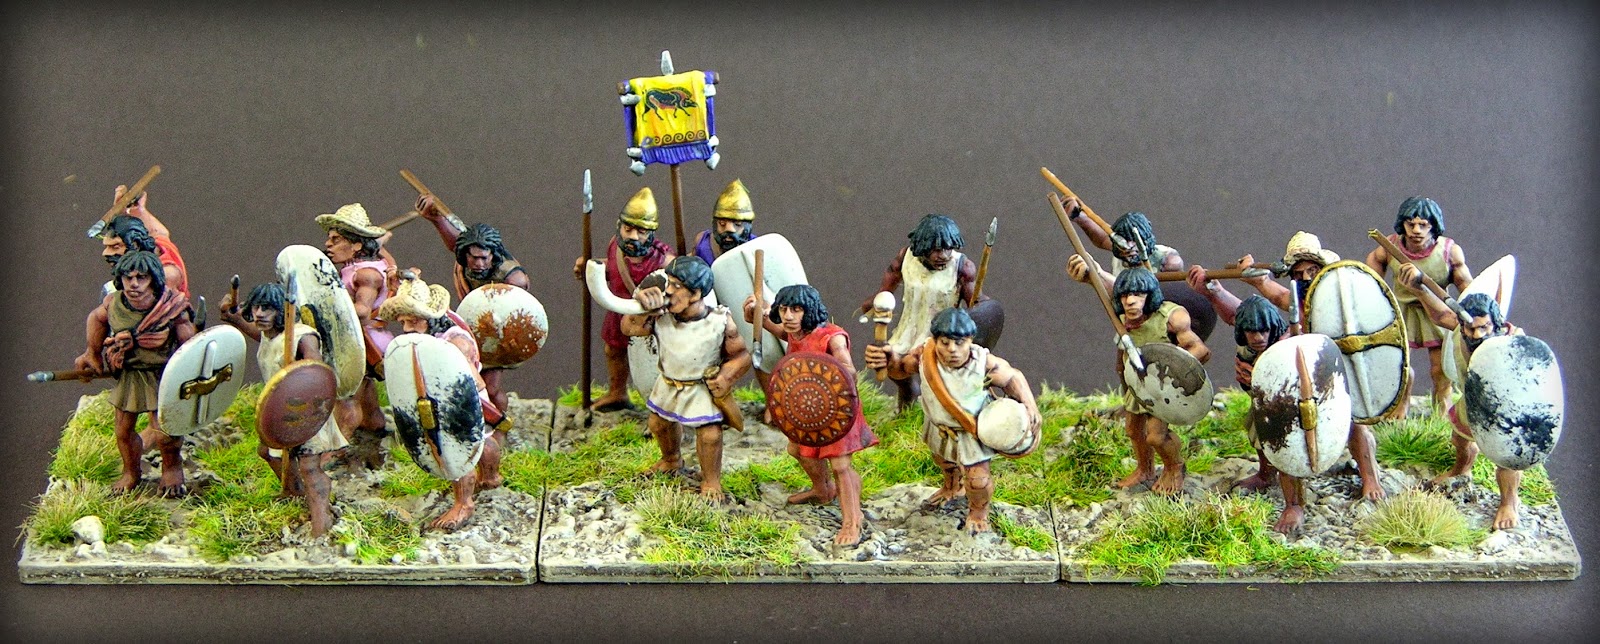
and flowers. It is well worth spending
some time on this stage; I like to have at least 8 different types of
“vegetation” on each base, and have been known to spend a whole evening doing
the tufting for a couple of units. I sometimes
also apply static grass to the bases, again using wood glue and my trusty Noch
puffer bottle. This is also a good time
to add twigs, small trees or battlefield debris to the bases.

A
worthwhile final stage is to lightly dry-brush the tufts, first with Yellow
Ochre and then (optionally) with a thin topcoat of Buff Titanium. This latter gives the bases a dusty
appearance that particularly suits an army fighting in a drier climate, and all
my Romans and Greeks get this treatment.
For
southern Mediterranean bases, I use more Buff Titanium, drier-looking tufts and
leave more of the base exposed.
Since I wrote this, I've introduced one final step; I now paint matt varnish over the tufts and static grass, and any shiny patches of glue on the base. This is a surprisingly worthwhile additional step; it makes the grass look much more realistic! Part III, advanced basing, follows tomorrow.